Tuesday, March 20, 2012

Fabric covered wall mounted file holders

I started out with these clear acrylic wall mount file organizers. I got them from Target in the office supply section and they were under $3 each!

Those are for my office, and I had just enough fabric left over for a small project in the same area.

You know I just couldn't leave these clear acrylic file holders alone, so I sanded them down to give them a little grip.


I then slathered on the Mod Podge and wrapped the fabric around the acrylic. Do not be fooled, it seems oh-so-simple, but this is very tedious and time consuming. I got all perfectionist on it...


I mean, just look at these little corners! Make sure you really slap on the top coat of Mod Podge where the fabric overlaps!


Here they are on the wall in my office/crafting space!


I think the best part is that they will also hold a 12x12" piece of scrapbooking paper, so when Mr. P wakes up from nap and I haven't finished my page, I can throw all of the parts in here until I'm ready to finish!


I kept my overlap at the top very tidy since you can see the white fabric through. I don't mind how it looks, but if I were to do it again, I'd likely use darker fabric to hide this. 

I'll throw some labels on these babies like I did on my up cycled cocoa box stamp holder and we will be in business!

And here they are!

(sorry about the blur, not the best lighting!)

Happy Creating!


I linked up:

Tuesday

Monday, March 19, 2012

Blog Tag!

Guess what?!
Katie @ Creatively Living tagged me in a game of blog tag! 

Here are the rules:

  • You must post the rules.
  • Answer the 11 questions that the tagger posted for you and then create 11 questions to ask the people you've tagged.
  • Tag 11 people and link them in your post.
  • Post their button on your post if they have one.
  • Let them know you have tagged them.
I've seen some tags where you tag 11 and some where you tag 5, so I'm going to tag 5.


I'm going to take a few questions from each blogger, so here are a few things you may not know about me!
1. What have been your most popular posts? 
A: You can see the top 10 on my side bar, but my favorites are my pin tucked duvet cover, and my headboard (that I'm in love with)! 
2. Floral or graphic prints?

A: Graphic floral prints lol 

3. What advice could you give to bloggers? 

A: Love the process. 

4. Why do you Blog?

A: I blog because I like to inspire and be inspired. I am also a lot more motivated when I am posting about what I do. I have always been doing the things that I post about, but then my friends and students asked me to start a blog so they could keep up with me. I didn't realize it would be so much work, but it's so much fun! 

5. What is your favorite color scheme? 

A: Black, white, gray, red, turquoise...
6. One word that describes you? 

A: Creative. Crazy. Imperfect. You choose one :)
7. The most craziest thing you have done? 

A: Probably when I moved to Portland by myself from South Carolina for no good reason other than the fact that it felt right. I feel like all of the "crazy" things I have done have felt right in one way or another. These situations either turn out to be a lesson or our fate. 

8. What is your favorite room in your house? 

A: I love Mr. P's room, but I'm quickly falling in love with my bedroom- I could spend days in my sewing nook

9. Your dream vacation and who would you bring? 

A: A beach with my husband and LOTS of sweaty yoga.

10. How would you describe your decor style?

A:  Vintage modern, maybe. I just say this because I have a lot of vintage and a lot of modern... lol

11. What makes you happy? 

A: My family. Practicing and teaching yoga. Finishing a project and taking on another one! 

OK,....there ya have it.

I'm tagging:
5.) Stoneyville

*I'd love to hear your answers to the same questions that are above :)

Thanks for playing along!


Sunday, March 18, 2012

Stay-cation fun

We decided that weekends are not long enough. So David took off work on Friday and we have had a stay-cation. We have done a little cleaning, catching up on a few projects, but mostly just enjoying as much time as possible being a family.

Where's Preston?!

There he is!


Oh how I love my happy little man!


It's the simple things that we very often take for granted.


This time is so precious!


Tuesday, March 13, 2012

DIY Headboard- Burlap and Old Wood Flooring


I am beside myself with the newest addition to our bedroom! 

I have been wanting to make a headboard forever! I have had a interest board just for headboards so that I could sort my ideas and pinpoint what I really wanted. I knew that I wanted fabric of some sort and Happy Hubby wanted steel or wood of some sort... I decided we would compromise! I haven't been able to make my headboard because we never had a car big enough to carry home the materials. Well, guess what?!

We bought a new car on Saturday, but that's a whole other post! 

We woke up on Sunday morning and Happy Hubs asked, "what do you want to do today?" I said , "Make our headboard." I mean, why waste time?! We got the car finally!

We visited my favorite place in the whole world, The Rebuilding Center! Now I knew I wanted some sort of fabric and some sort of frame, but I decided a long time ago, to be very open minded when shopping at the rebuilding center and allow the project details to truly manifest themselves (yoga teacher language lol) once I see what is available. 

Materials:

We found a sheet of plywood for $3!!!!! It was almost the perfect size too, we only had to cut off 4 inches. I thought initially that I wanted raw wood as the boarder, but then we found this chipping white wood that looks like it used to be old tongue and groove wood flooring. We paid $7.20 for plywood and frame wood, ya can't beat that! I purchased a twin sized foam mattress cover for $10, 1 1/4"nails for $3, flush mounts (to hang the headboard on the wall) for $4. We already had an old fitted sheet that I cut up as base fabric and the burlap was leftover from our wedding last year. 

Tools:
We used a miter saw, hammer, screw gun, a staple gun, and a tape measure.

Here is how we put it together:

I didn't want pieces of white paint to chip off of our frame wood, so I sanded it with a 220 grit foam sander block. Then slapped on a coat of Mod Podge (I'll use it on anything I can!!) and then sealed it with a coat of Minwax Polyacrylic. These steps are not necessary, we have children and I did  not want them picking off paint chips... One child in particular has been known to do this already lol!

Cut Plywood to desired width and cut foam to fit. 


Staple foam to plywood. Note: Because I knew we would be using the old flooring frame, I did not fold my foam over and staple it to the back. I knew the frame would cover any bumps.


Cover foam with old sheet, staple on the back and cut off any excess fabric. Because this was a fitted sheet, I had to cut off the elastic band, which you can see in the background of this next photo.


Lay burlap on top of headboard structure and cut it leaving 4-6 inches all of the way around. Iron burlap then lay it out on the floor I didn't get a shot of that, but it was important to lay the burlap on the floor then place the headboard structure on top of it face down. The burlap shifts very easily and this keeps it straight. Pull the burlap tight around the edges, staple all the way around, taking care at the corners to keep them tidy.

Measure the boarder of the headboard and cut your wood to fit, and cut the ends of the wood pieces that will come together to make the frame at a 45 degree angle. 


Here is where it gets tricky, you will need 2 people. One person holds the wood down while the other person hammers in the nails to attach the wood to the head board.

We screwed the frame onto the headboard from the back for extra security. We didn't want wood falling on us in the middle of the night!
**Make sure your screws aren't too long or they will poke through the frame wood.


Measure and attach flush mounts to back of headboard and the wall. I can't give you too much information on this as it was Happy Hubby's job and I was just the eyeballs... We were off by about 1/2" initially and had to adjust. my advice: Have patience.

Let's look at the final product again!


I love how rugged yet elegant the frame looks!
It goes great with the pin tucked duvet cover that I made :)


I love that this burlap was in our wedding. 
It's a little reminder every morning of that special day that we promised each other our forevers!


I'm feeling a little stenciling coming on. I have no idea what color(s) or pattern I'd use, but I think a little pattern on the burlap would soften it up a bit. 

Any suggestions on what I should stencil or what color you think would look good?


I linked up:
Tuesday:

Wednesday:

Friday:


Thursday, March 8, 2012

Gluten Free Playdough Time & A Winner!!


Mr. P is almost 18 months old! He is now into playing more specific things now, even if only for a few minutes. Happy Hubby is not so into play dough, so we have never really had it around for the girls, plus store bought playdoh is not gluten free!

I searched over the internet to find a recipe for Gluten Free homemade play dough and found a recipe here at the Parents magazine website!


Cut and Paste from here...

Ingredients:
  • 1/2 cup rice flour
  • 1/2 cup cornstarch
  • 1/2 cup salt
  • 2 teaspoons cream of tartar
  • 1 cup water 1 teaspoon cooking oil
  • Food coloring, if desired
Directions:
Mix ingredients. Cook and stir on low heat for 3 minutes or until it forms a ball. Cool completely before storing in a sealable plastic bag.


Just a warning, it does not take long for the dough to get thick!! It gets very hard to stir, my arm was getting tired and Happy Hubby had to hop into the kitchen to help out! lol


Busy hands squeezing play dough!


Cheesy grin hidden behind play dough :)


Now that is one satisfied, sensory stimulated *almost* 18 month old!

Any other homemade gluten free goops or other sensory stimulating items I should make for Mr. P to play with?


**Congrats to Kristi Marriott who won the My Memories Suite!**

Wednesday, March 7, 2012

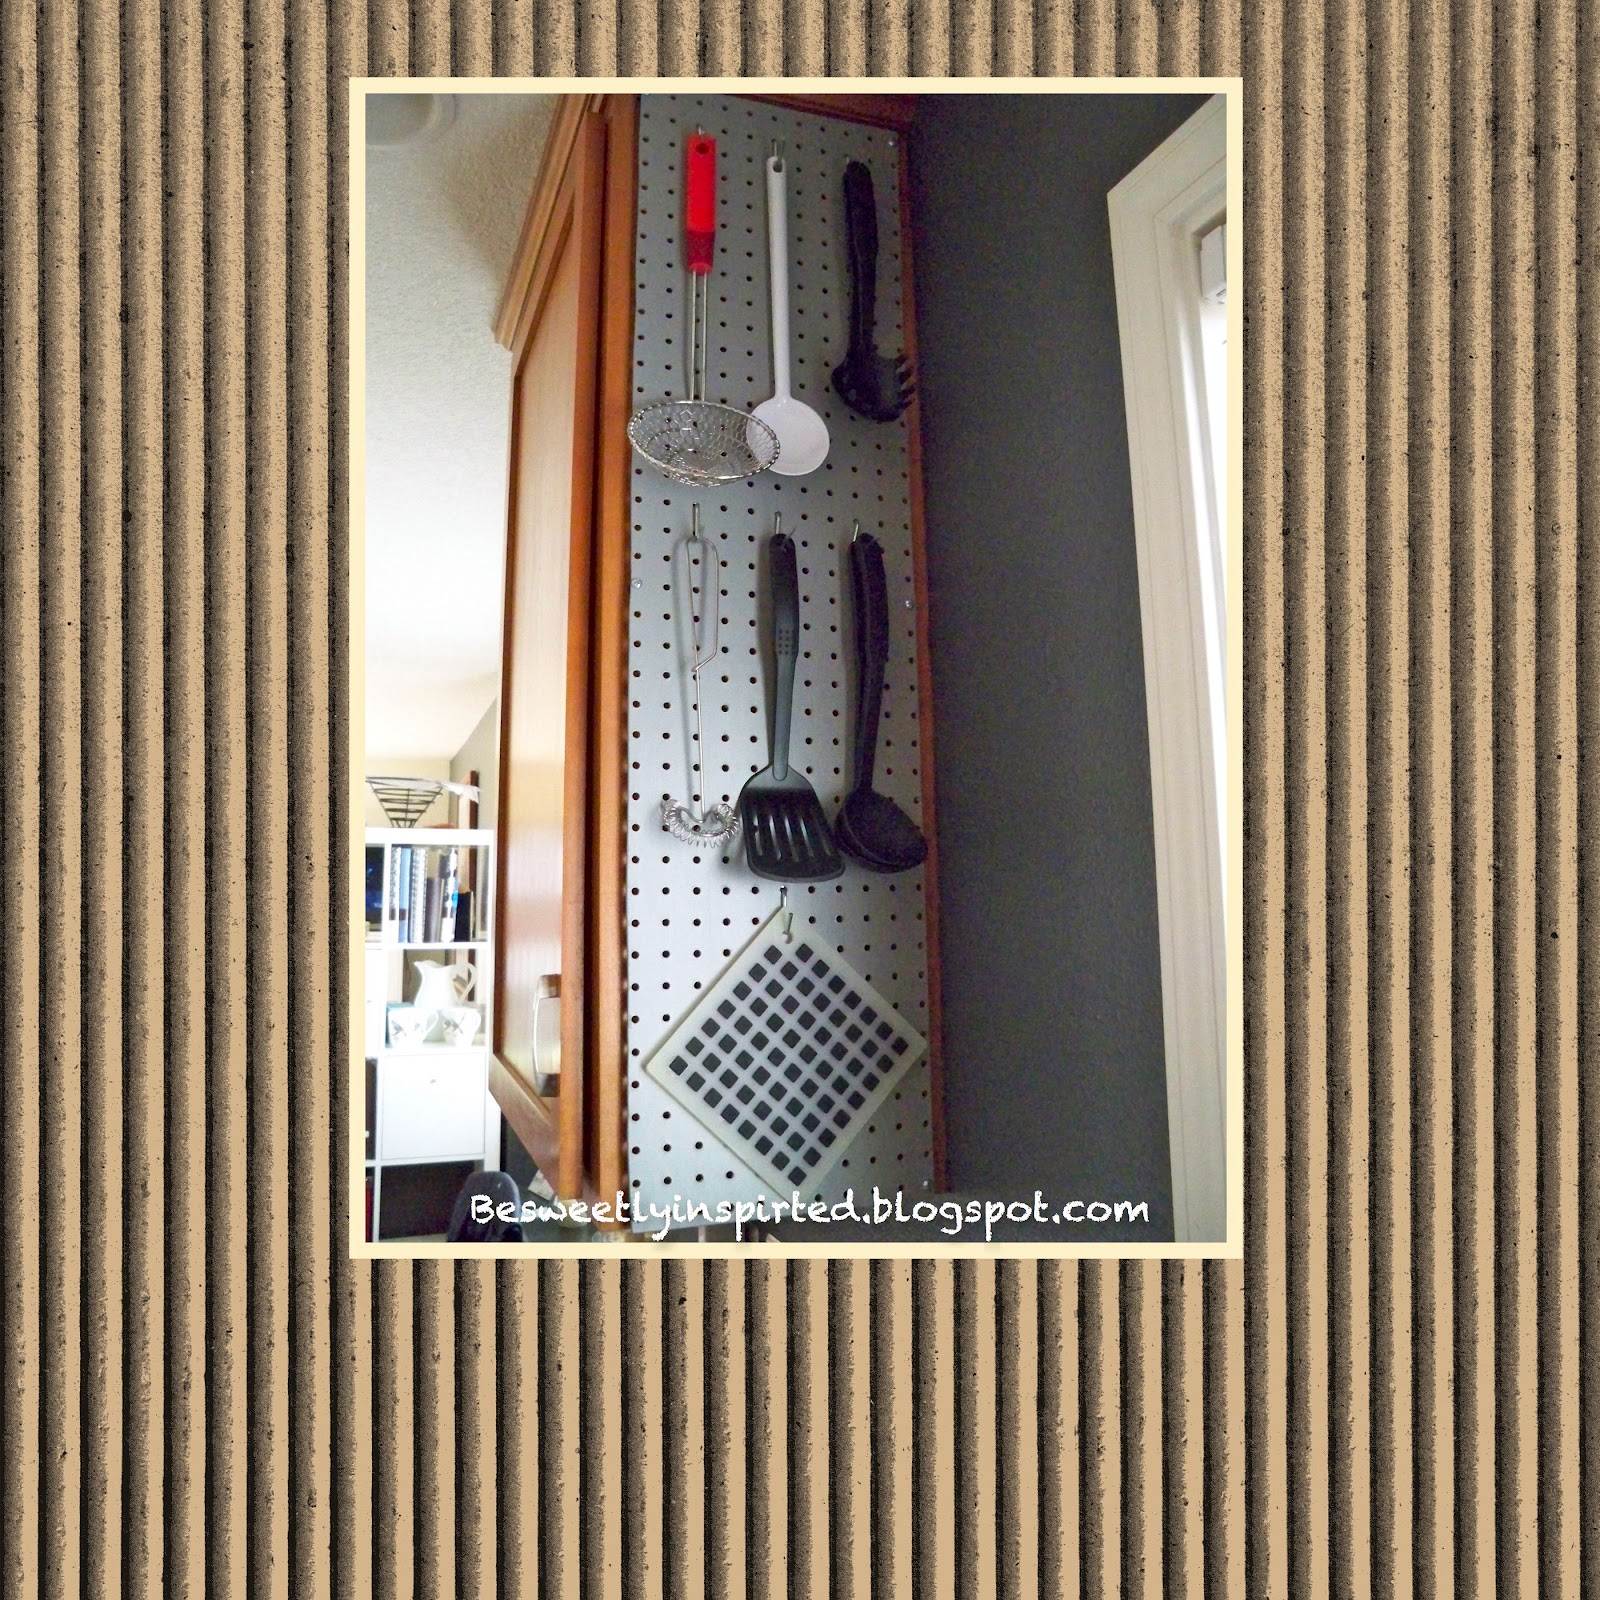
A {small} Kitchen Update With Pegboard

(I love using digital scrapbooking software for my blog too!)

This is such a simple update to our little kitchen, but it really packs a lot of punch! It looks cute, is not intrusive on our workspace, and is oh so functional!

I can feel more pegboard inspiration coming on... Maybe inside of the cabinets?!

Another peek? Here ya go:


Tuesday, March 6, 2012

A little L.O.V.E. sign!


Are ya feelin' the love?!

I know I am!
 The sun is shining here today in Portland, Oregon and I get to spend the day with my lil man!

Remember my mudroom/entry way?! Well, last week I finally added these adorable coat hooks, and this week I am working on that gallery wall!

Y'all know I am all about the inspiration, so I want our entryway to be full of inspirational phrases and words so that as we leave our home we are inspired to take on the world tethered to our hearts. When we come home we will be reminded that our home is a haven and we are only worth the energy and inspiration that we bring to our space.

So I made a LOVE sign!

I was inspired by this image that I found on pinterest:


See that gold LOVE in the background?! Cute right?! 
I didn't like the gold for my gallery wall. I'm going for mostly black and white inspired by this photo:

Love!

Sadly I can not get to the direct link to this post, it's apparently from Tumbler but here is my pin on Pinterest. 

Isn't that just lovely?!

So, here is my entry so far:


We are getting there!

More art/signs to go, and new lights are in our future for sure!

Ok, another little peek at the LOVE:


Hope you're feelin' the love today!


I linked up:
Monday:
Tuesday: